There are many small and large holes in the drywall and plaster walls throughout the two houses. Please go through spaces and patch these holes.
Group
Group Lead: Edo
Areas in order of decending priority:
- Chapter room
- Foyer
- Dining Room
- Milk Room
- A1 Foyer
- Basement main area
- Laundry Room
- Kitchen
- Boiler room
Materials
Patching Compounds
- Patching Plaster / Plaster of Paris: Fast-setting, dense dry mixes match original hard plaster walls, but they set very quickly.
- Joint Compound (Mud): Slower-drying and easier to sand; great for final skim coats and feathered edges.
- Spackle: Ideal for small nail holes, minor dents, or shallow surface cracks. Prep and Bonding Materials
- Bonding Agent / Plaster Bonder: Painted onto exposed wood lath or old dusty plaster edges so the new patch grips tightly.
- Self-Adhesive Fiberglass Mesh Tape: Used to bridge and reinforce active or wide cracks before applying compound. Tools and Hardware
- Putty Knives and Trowels: A small margin trowel or filling knife for packing holes, and a wider knife or hawk to hold and smooth the plaster.
- Sandpaper (120 to 150 grit): Hand-held sanding blocks or strips to feather edges smoothly without gouging the soft surrounding plaster.
- Spray Bottle of Water: Used to lightly mist old dry plaster so it does not suck the moisture out of your new patch too fast.
Steps
Small Holes (Nail or Screw Sized)
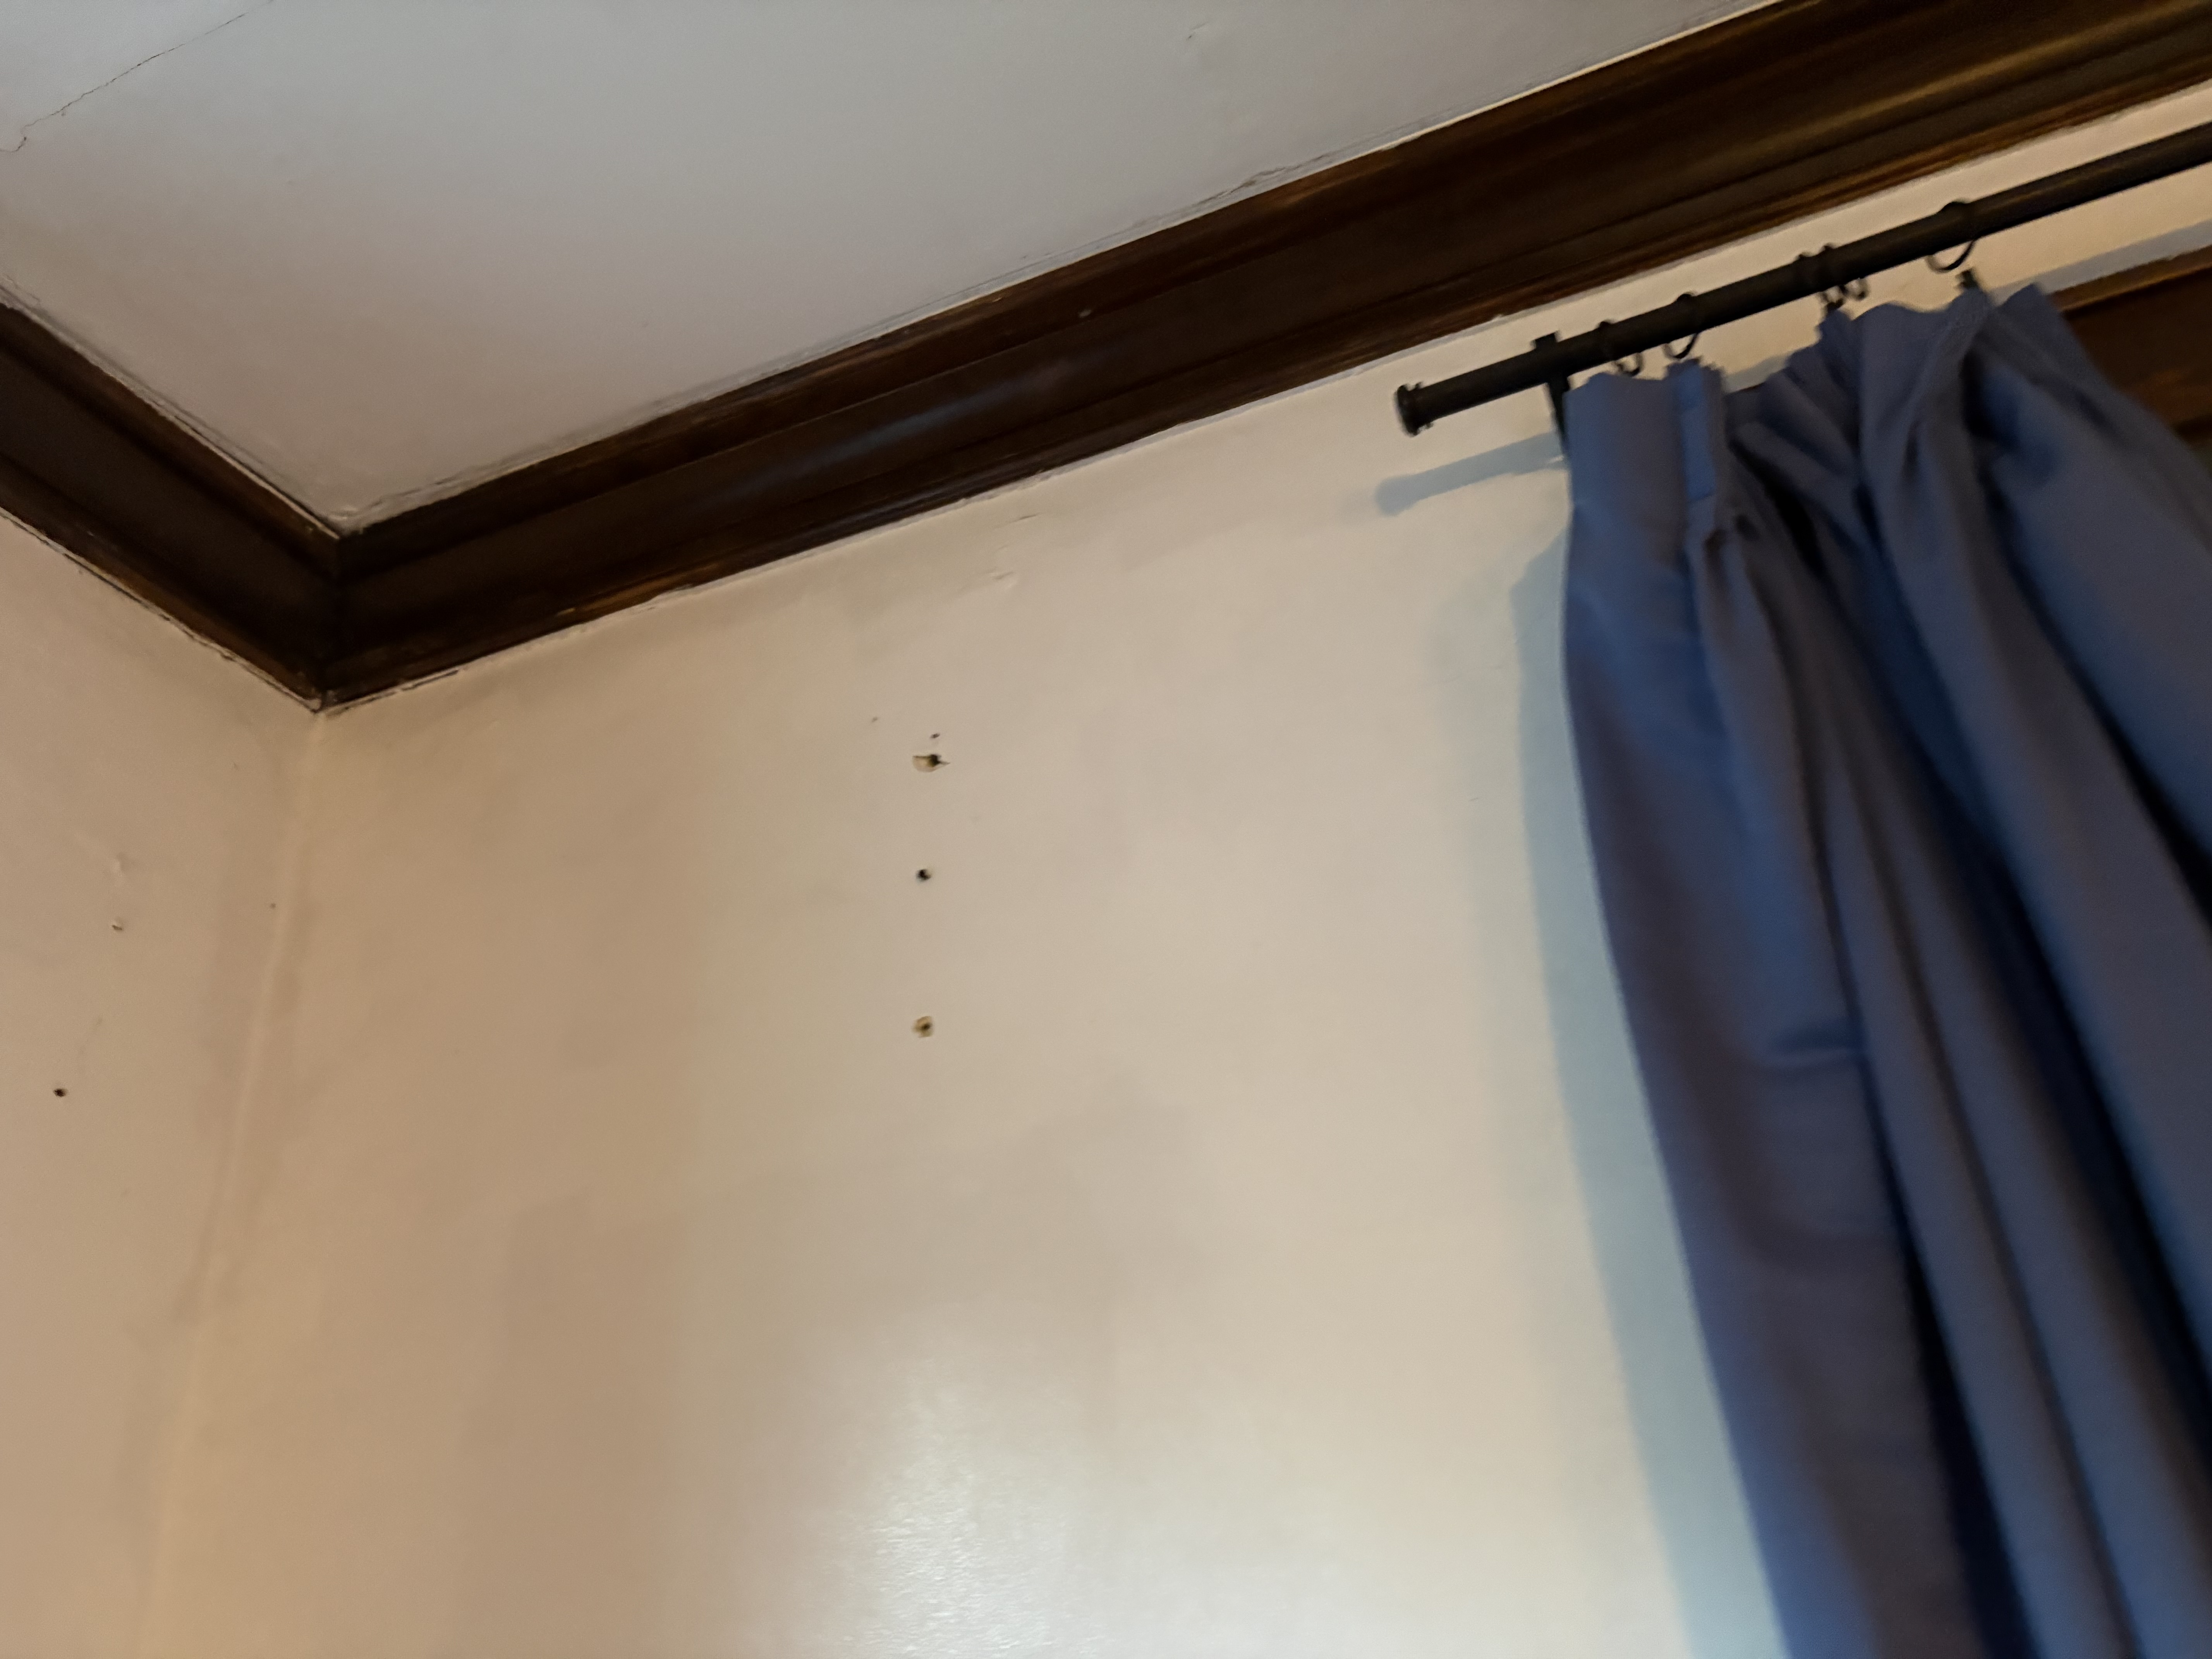
- Clean: Scrape away any loose bits or old plastic anchors inside the hole.
- Fill: Press lightweight spackle or joint compound into the hole using a putty knife.
- Smooth: Pull the knife flat across the wall to scrape off extra compound.
- Sand: Let it dry, then rub the spot flat with fine-grit sandpaper.
Medium to Large Holes (Doorknob Sized and Up)
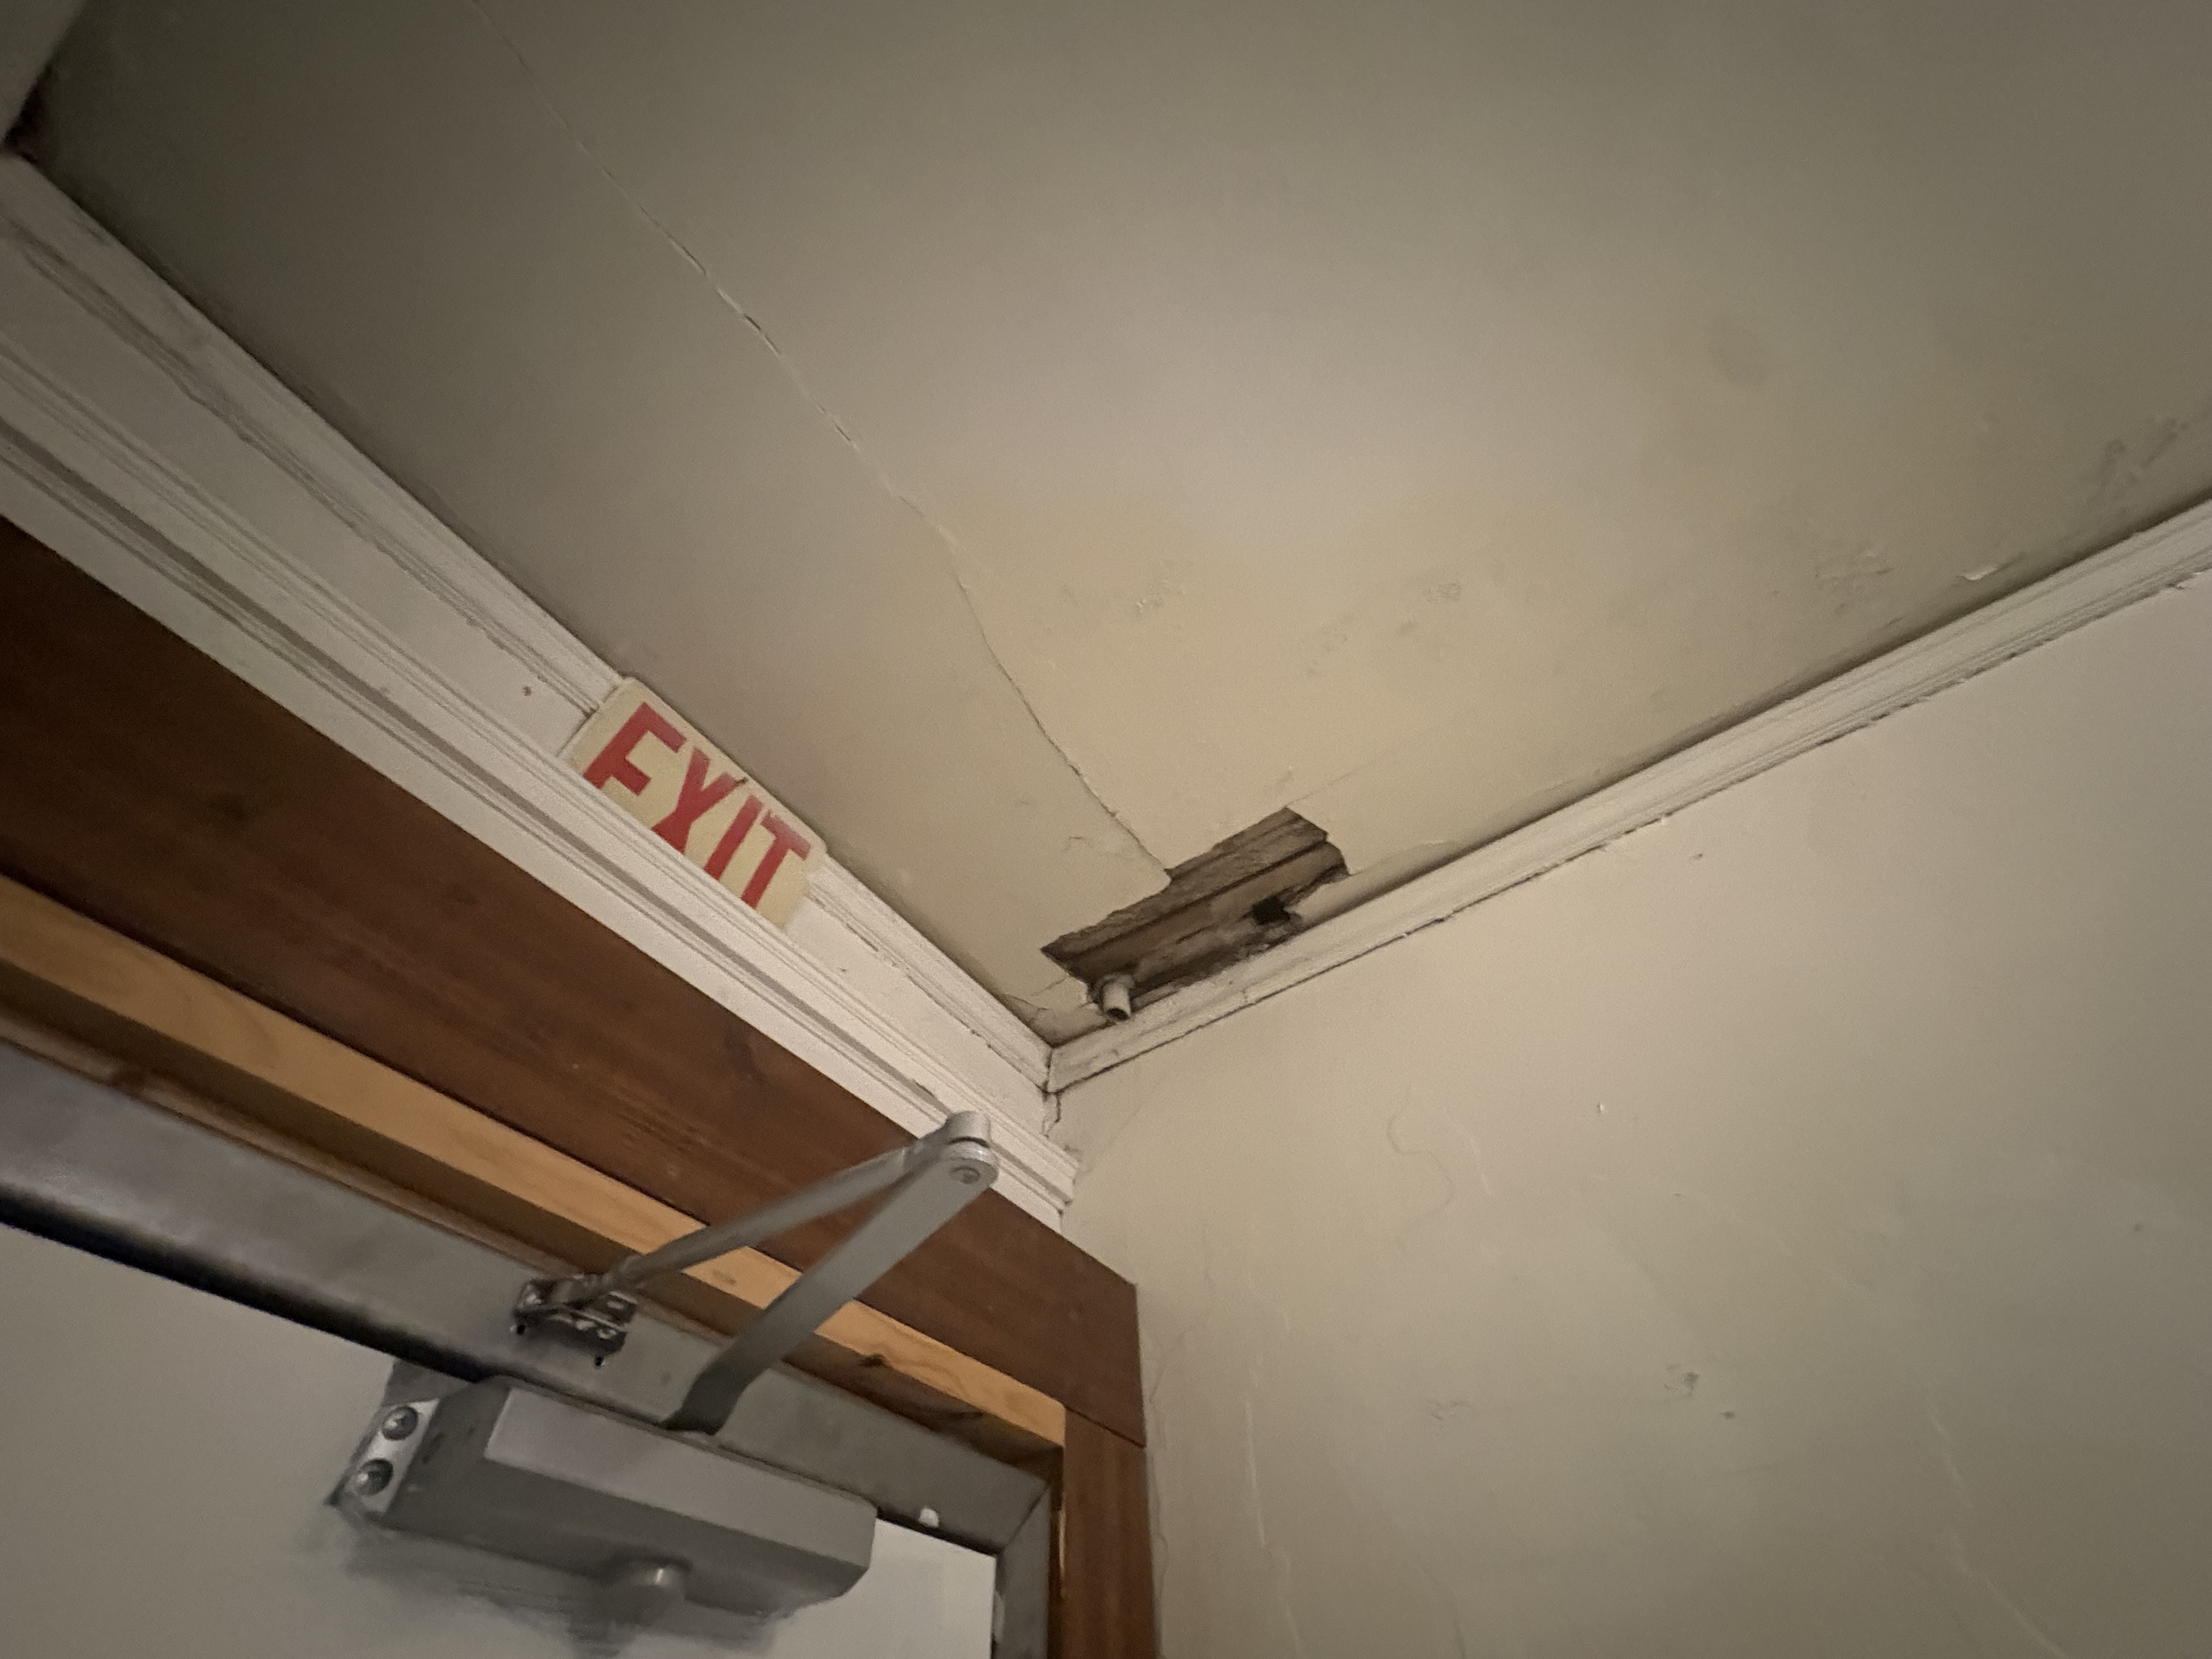
- Trim: Cut the ragged edges of the hole into a clean square or circle using a utility knife.
- Backing: Insert a small piece of wood or a mesh patch behind the opening to support the new fill.
- Patch: Screw a cut-to-fit piece of drywall into the backing wood, apply a self-adhesive mesh patch, or use plaster of paris
- Coat: Apply thin layers of joint compound over the patch, feathering the edges outward so it blends with the wall.
- Finish: Sand smooth between coats, then prime and paint. Watch this guide on filling holes to see the correct knife angles and techniques for avoiding shrinkage and achieving an invisible repair: https://www.youtube.com/watch?v=OMWmh22oHmU
Using plaster of paris to patch holes
Mixing the Plaster
- Slow the set time: Pure Plaster of Paris hardens in less than 10 minutes, making it very tough to work with. Mix Plaster of Paris with regular lightweight joint compound (about a 2-to-1 or equal ratio) and water to extend your working time and make it easier to shape.
- Test consistency: Aim for a smooth, loose mud texture that holds its shape on a trowel without instantly running off. Applying the Patch
- Build the base keys: Press the plaster mix firmly into the gaps between the wood lath strips so it squishes through the back and creates structural locks.
- Fill the depth: Build the layer up until it sits slightly higher than the surrounding wall surface.
- Scrape flat: While the mix begins to firm up, drag a putty knife or trowel flat across the surface to cut away high spots and match the plane of the wall. Finishing and Smoothing
- Skim coat: Once the base patch dries hard, apply a thin final layer of joint compound to feather and blend the edges invisibly into the old wall.
- Sand smooth: Sand the dried patch gently with fine-grit sandpaper until it is completely flush.
Painting
After the holes have been patched, many rooms require fresh paint
Paint and Prep Supplies
- Interior paint: Eggshell or satin finish works best for standard walls.
- Primer: Use a separate primer if covering dark colors, raw drywall, or major stains.
- Fine-grit sandpaper or sanding block (120 to 220 grit): To smooth patched areas and scuff-sand walls.
- Painter’s tape: To protect trim, windows, and baseboards Painting Tools
- Angled paintbrush (2 to 2.5-inch): Essential for cutting in corners and around trim.
- Roller frame (9-inch): For fast, even wall coverage.
- Roller covers (3/8-inch to 1/2-inch nap): Microfiber or lint-free woven covers hold plenty of paint and leave a smooth finish.
- Paint tray and disposable liners: Holds paint and makes cleanup fast.
- Extension pole: Attaches to your roller frame to reach high walls and ceilings. Cover and cleanup
- Drop cloths and plastic sheathing to cover up furniture and flooring
- Wet rags for cleaning up spills
Chapter room Color is selected as Studio Clay MQ2-27: Use stain-blocking base
Foyer color is selected as Hayloft: MQ2-22: Use stain blocking base
Dining room color is selected as Studio Clay MQ2-27. Use stain-blocking base
Misc Painting Jobs
- Repaint fence to backyard
- Repaint windowsills in dish pit and kitchen
- milk room ceiling
- backyard benches
- Front door frame of A1